Capturing screenshots on Windows is a fundamental skill that comes in handy for various purposes, from sharing information to troubleshooting and documentation. Fortunately, Windows provides multiple methods to take screenshots, allowing users to capture the entire screen, specific windows, or customized regions. In this comprehensive guide, we’ll explore various techniques for taking screenshots on Windows.
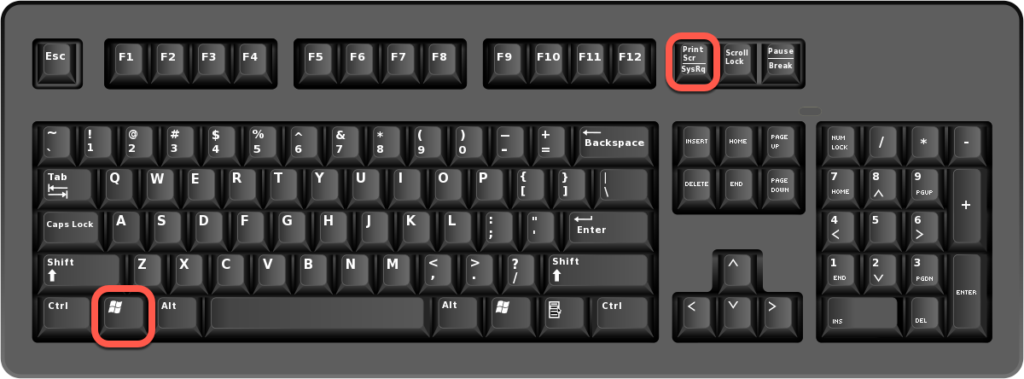
USING THE PRINT SCREEN (PRTSCN) KEY
The most straightforward method to capture a screenshot on Windows is by using the Print Screen key, often labeled as “PrtScn.” The key’s functionality can vary slightly depending on the version of Windows.
Full Screen Capture:
- Press the “PrtScn” key to capture the entire screen.
- The screenshot is copied to the clipboard.
Active Window Capture:
- To capture only the active window, press “Alt + PrtScn.”
- The screenshot is copied to the clipboard.
SNIPPING TOOL
Windows also includes a built-in tool called Snipping Tool, which provides more flexibility for capturing specific regions of the screen.
Open Snipping Tool:
Type “Snipping Tool” in the Windows search bar and open the application.
Capture Options:
- Click on “New” to initiate a screenshot.
- Choose from options like Free-form, Rectangular, Window, or Full-screen snip.
- Select the area you want to capture.
Editing and Saving:
- After capturing, the Snipping Tool provides basic editing options.
- Use the “File” menu to save or share the screenshot.
SNIP & SKETCH
In newer versions of Windows 10, Snip & Sketch is available as an enhanced tool for taking screenshots.
Open Snip & Sketch:
- Press “Windows + Shift + S” to open Snip & Sketch.
- Alternatively, you can find it in the Start menu.
Capture Options:
- Select the desired snipping mode: Rectangular, Freeform, Window, or Full-screen.
- Capture the area you want to screenshot.
Annotate and Save:
- After capturing, Snip & Sketch allows you to annotate and edit the screenshot.
- Use the “Save As” option to save the screenshot.
WINDOWS + PRINT SCREEN SHORTCUT
Windows also offers a convenient shortcut for capturing and saving screenshots.
Capture and Save:
- Press “Windows + PrtScn” to capture the entire screen.
- The screenshot is automatically saved to the Screenshots folder in the Pictures library.
Windows + Shift + S Shortcut:
- Press “Windows + Shift + S” to open Snip & Sketch in snipping mode.
- Capture the desired region, and the screenshot is copied to the clipboard.
GAME BAR FOR GAMING SCREENSHOTS
For gamers, Windows provides the Game Bar for capturing screenshots during gameplay.
Activate Game Bar:
- While in a game, press “Windows + G” to open the Game Bar.
- Click the camera icon to capture a screenshot.
Editing and Sharing:
The Game Bar allows basic editing and provides options to share the screenshot.
USING THE SNIPPING SHORTCUT
Windows 11 introduces a new snipping shortcut for quick access to the Snipping Tool.
Press Windows + Shift + S:
- Press “Windows + Shift + S” to open the Snipping Tool snipping options.
- Choose the desired snipping mode and capture the screenshot.
Access Snipping Options:
- Click on the snipping icon in the notification area to access the snipping options.
CLIPBOARD HISTORY IN WINDOWS 10
Windows 10 also includes a clipboard history feature that allows you to access and paste previously copied screenshots.
Enable Clipboard History:
- Press “Windows + V” to open the clipboard history.
- Enable clipboard history to store multiple screenshots.
Access and Paste Screenshots:
- Capture screenshots using any method mentioned.
- Press “Windows + V” to access the clipboard history and paste the screenshot.
THIRD-PARTY TOOLS:
In addition to built-in options, numerous third-party tools offer advanced features for screenshot capture and editing. Tools like Greenshot, Lightshot, and ShareX provide additional functionalities, such as capturing specific regions, adding annotations, and sharing screenshots directly.
Download and Install:
- Choose a third-party tool that suits your needs.
- Download and install the tool on your system.
Capture and Edit:
- Use the features provided by the third-party tool to capture and edit screenshots.
- Explore additional functionalities like annotations, effects, and direct sharing options.
In conclusion, Windows offers a variety of methods for capturing screenshots, ranging from simple keyboard shortcuts to advanced snipping tools. Understanding these techniques allows users to choose the method that best suits their needs, whether it’s capturing the entire screen, specific windows, or customized regions. Additionally, exploring third-party tools can provide advanced features for users looking to enhance their screenshot capture and editing capabilities on Windows.