Capturing screenshots on a Mac is a fundamental skill that serves various purposes, from documenting information to troubleshooting and sharing content. Apple’s macOS provides several intuitive methods to take screenshots, catering to different preferences and needs. In this comprehensive guide, we’ll explore various techniques for capturing screenshots on a Mac.
USING KEYBOARD SHORTCUTS
macOS offers a set of convenient keyboard shortcuts for capturing screenshots. These shortcuts allow users to capture the entire screen, specific windows, or custom regions.
Full Screen Capture:
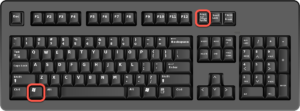
- Press “Command (⌘) + Shift + 3” to capture the entire screen.
- The screenshot is saved to the desktop by default.
Partial Screen Capture:
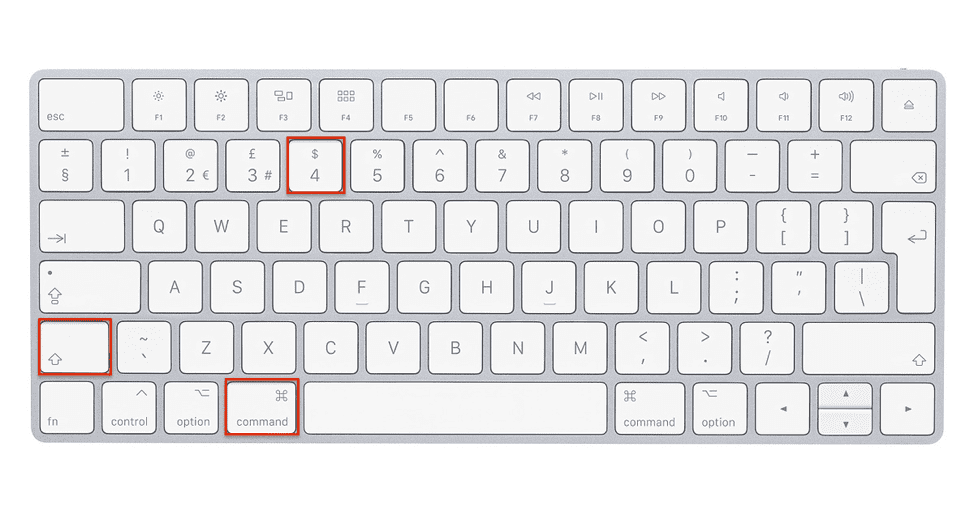
- Press “Command (⌘) + Shift + 4” to capture a selected area.
- Drag to select the region you want to capture.
- Release the mouse button to take the screenshot.
Window Capture:
- Press “Command (⌘) + Shift + 4” followed by the “Spacebar.”
- Click on the window you want to capture.
- The screenshot is saved to the desktop.
Clipboard Capture:
Add “Control” to the shortcuts above to copy the screenshot to the clipboard instead of saving it to the desktop.
USING GRAB UTILITY
macOS includes a built-in utility called Grab, providing additional options for taking screenshots.
Open Grab:
Go to “Applications > Utilities > Grab” to open the Grab utility.
Capture Options:
In Grab, choose from options like “Capture Selection,” “Capture Window,” or “Capture Screen.”
Follow on-screen instructions to capture the screenshot.
Save and Edit:
After capturing, use Grab’s menu to save the screenshot or open it in the Preview app for further editing.
USING PREVIEW APP
The Preview app on macOS also allows users to capture screenshots.
Open Preview:
Launch the Preview app from the Applications folder.
Capture Screenshot:
Go to “File > Take Screenshot” and choose options like “From Selection” or “From Window.”
Save and Edit:
Preview provides basic editing tools for annotating and saving the screenshot.
USING SCREENSHOT APP ON MACOS MOJAVE AND LATER
macOS Mojave introduced a new Screenshot app that consolidates various screenshot features.
Open Screenshot App:
Press “Command (⌘) + Shift + 5” to open the Screenshot app.
Capture Options:
- Choose options like capturing the entire screen, selected window, or custom area.
- Set a timer for delayed captures or include the pointer in the screenshot.
Save and Edit:
After capturing, the Screenshot app provides editing tools and options to save the screenshot.
USING TERMINAL COMMANDS
For users comfortable with Terminal commands, macOS also allows taking screenshots through the command line.
Open Terminal:
Launch the Terminal app from the Applications folder.
Capture Screenshot:
- Use commands like “screencapture” followed by options such as “-i” for interactive capture.
- Explore additional options for specifying file formats and locations.
USING THIRD-PARTY APPS
Beyond built-in tools, users can explore third-party apps that offer advanced features for screenshot capture and editing.
Download and Install:
- Choose a third-party app that suits your needs (e.g., Snagit, Skitch, or Lightshot).
- Download and install the app on your Mac.
Capture and Edit:
- Use the features provided by the third-party app to capture and edit screenshots.
- Explore functionalities like annotations, effects, and direct sharing options.
SETTING UP CUSTOM SHORTCUTS
Users can customize screenshot shortcuts on macOS to fit their preferences.
Open System Preferences:
Go to “System Preferences > Keyboard > Shortcuts.”
Customize Screenshot Shortcuts:
In the left sidebar, select “Screen Shots” to customize screenshot-related shortcuts.
Assign New Shortcuts:
Click on the existing shortcuts to reassign them or add new ones according to your preferences.
USING ICLOUD
If you use iCloud, you can take advantage of the screenshot-sharing feature across your Apple devices.
Capture on iPhone or iPad:
Take a screenshot on your iPhone or iPad.
Access on Mac:
Open the screenshot directly on your Mac through the Photos app or iCloud Drive.
In conclusion, capturing screenshots on a Mac is a versatile and straightforward process, thanks to the variety of built-in tools and features. Whether you prefer keyboard shortcuts, utilities like Grab and Preview, the Screenshot app on newer macOS versions, Terminal commands, or third-party applications, there’s a method that suits every user’s needs. Exploring these options empowers Mac users to efficiently capture, edit, and share screenshots for a variety of purposes.